Add a Handler
Within an SMS Keyword, a Handler refers to a workflow that gets executed when a Member texts a specified keyword to your Short Code. For example, you could update a Member Attribute, or issue an Offer, or grant a Reward. A Handler can also include a reply message that automatically gets sent back to the Member. A Handler can optionally execute multiple actions, and an SMS Keyword can optionally include multiple Handlers.
To add a Handler to an SMS Keyword:
-
Select Campaigns from the top navigation bar, then select Campaigns > Inbound SMS from the side navigation menu. The Inbound SMS screen is displayed.
-
Search for and select the desired SMS Keyword (see Search for an SMS Keyword for more information on the available search options). The SMS Keyword Details screen is displayed, with the Definition tab selected by default.
-
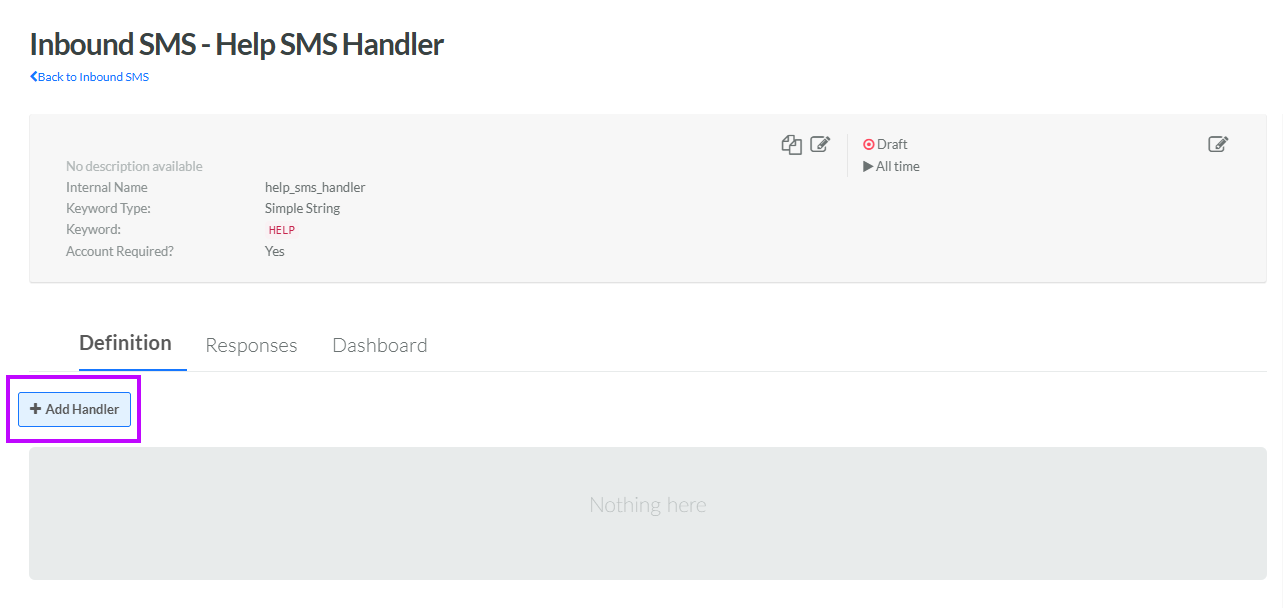
Click Add Handler. The New Handler pop-up window is displayed.
-
In the Display Name field, enter the name of the new Handler.
-
Optionally, in the Description field, enter a description of this item.
-
In the Reply field, enter the text of the reply message. You can use Content Tokens within the body text to personalize the message. The platform automatically tracks and displays the character count. Note that this count is only an estimate, and may not reflect the actual character count when the message is deployed, especially if you are using Content Tokens.
-
By default, Member Only is checked. This feature will limit the platform to sending the automated reply only to known Members. Optionally, uncheck this option to always send the reply, even to unknown individuals. If this option is unchecked, you can optionally add a Create Visitor Account Handler action, which will create a new Member Profile for the unknown individual, and tag that Member Profile as a "Visitor." See Define an Action for a Handler for more information.
-
Next to Effectivity, select either:
-
Always: This Handler doesn't expire.
-
Scheduled: Enter a start date and end date, and select a time zone
-
-
If you enabled the Member Only feature above, you can optionally define one or more Conditions. A Member must meet the assigned Conditions for this Handler to execute. Click the Add icon, then select Add Rule. The platform adds a new blank row.
-
The first drop-down menu is populated with all of the different object types in Loyalty that are available for use. From this drop-down menu, select one of the following object types to expand it and see the available options:
 Attributes
This option allows you to define a logical statement based on a value in a Member Attribute.
-
From the menu, select the desired Member Attribute.
-
Select a mathematical operator; the available operators will vary based on the Data Type of the item you selected above.
-
Enter or select a value.
Preferences
This option allows you to define a logical statement based on a value in a Member Preference.
-
From the menu, select the desired Member Preference.
-
Select a mathematical operator.
-
Enter or select a value.
Segments
This option allows you to define a logical statement based on a Member's inclusion in a Segment (or exclusion from a Segment).
-
From the menu, select Member.
-
Select a mathematical operator - either In (inclusion) or Not In (exclusion).
-
Search for and select a published Segment.
Functions
This option allows you to define a logical statement by referencing a Member Function.
-
From the menu, select the desired Function.
-
Select a mathematical operator.
-
Enter or select a value.
-
If you selected a Member Function and it has Arguments defined, select the Attribute on which to match.
-
Repeat the above steps as needed to define more Rules. Optionally, to delete a Rule, click the Delete icon next to it.
-
Once you define more than one Rule, select the logical operator from the Include customers that meet drop-down menu:
-
All of the following: Use an 'AND' operator such that all Rules must be true for a record to be selected.
-
Some of the following: Use an 'OR' operator such that at least one of the Rules must be true for a record to be selected.
-
-
Optionally, you can also organize Rules into Rule Groups. A Rule Group allows you to build more complex selection criteria. To create a Rule Group, click the Add icon, then select Add Rule Group. The platform creates a Group, which is represented visually as a nested box with its own operator and Add icon. Within this Group box, click the Add icon to define the Rule (or Rules) using the same process as described above. Use the toggle within the Group box to define the logical operator for the Rules within the Group. To delete an entire Rule Group, click the Delete icon just above the nested box representing the Group.
-
Click Save. The Handler is added to the Definition tab.
-
Optionally, repeat the above steps to define additional Handlers.
For more information on adding an action to the Handler, see Define an Action for a Handler.